Precautions to prevent the spread of COVID-19 are updating daily, as people are now required to wear protective face masks in public. These masks are often difficult to find due to high demand.
UB is taking steps to ensure that its essential employees are equipped to protect themselves from potential infection by supplying masks, according to an email from Associate Vice President of Human Resources Mark Colleen. The masks are expected to be available “as soon as they are sourced and available.”
But new orders from government officials have further increased the demand for these masks, leaving UB’s distribution date unclear.
Gov. Andrew Cuomo announced an order Wednesday requiring people to wear masks in public places where social-distancing is not possible, like on public transportation, in stores and on crowded sidewalks. The order will go into effect on Friday.
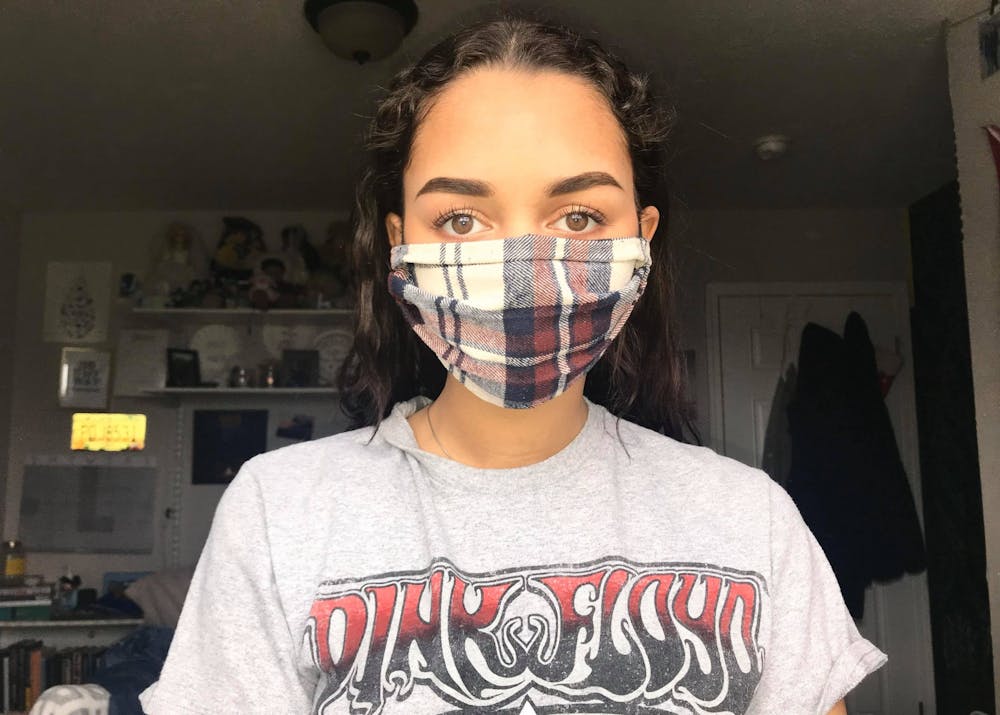
The CDC recommends people wear scarves, bandanas or homemade masks and says surgical masks and N-95 respirators should be reserved for medical professionals.
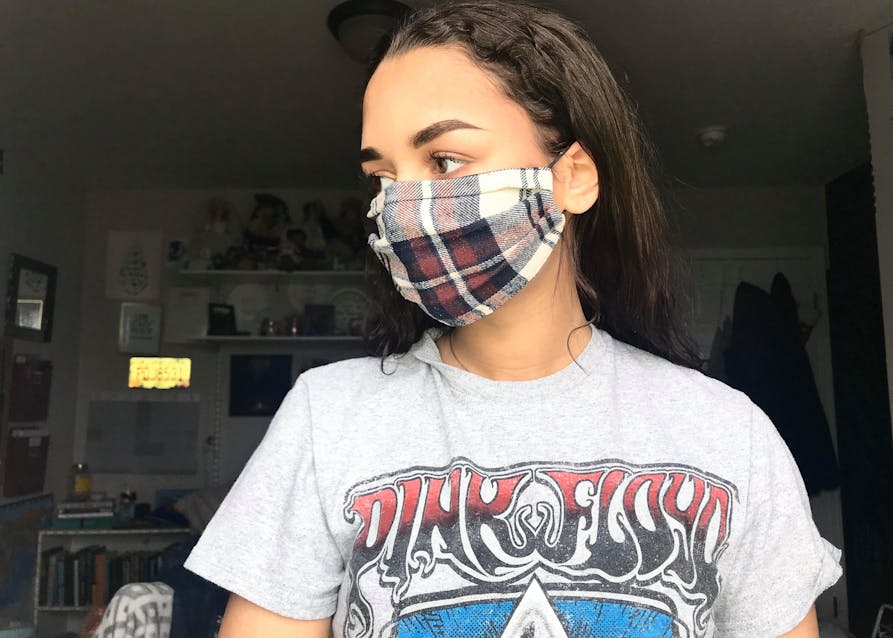
Here’s an easy way to make a face-covering using supplies you probably have lying around the house.
What you’ll need:
- 9” x 5” piece of fabric (preferably cotton)
- Glue (preferably hot glue or super glue)
- 2 elastic bands
- A paperclip (optional)
What to do:
- Lay out your fabric. Create a hem by folding about ¼ inch of fabric around the edge of the entire piece inward and gluing it down.
- Roll about a half-inch worth of the fabric inward from the top of the long side and glue it down. Make sure to leave a tube-like space in the middle of the rolled section. This is where you will insert the paperclip for a nose-form if you choose to add one.
- If you are adding a paperclip, unfold it and insert it into the tube opening you made during step two.
- Take your two elastic bands and place them on the outside edges of the fabric. Then fold in the edges, securing the elastics in place, and glue them down. This will create the ear loops.
Reilly Mullen is the news editor and can be reached at reilly.mullen@ubspectrum.com or on Twitter @ReillyMMullen.

Reilly Mullen is the editor-in-chief at The Spectrum. She is a senior majoring in political science with a journalism certificate. She enjoys Dunkin’ iced lattes and Scrabble. A former web, features, news and managing editor, she is a columnist at heart but has covered everything from UB Football to breaking news.
 Photo: Courtesy of SUNY
 Photo: The Spectrum Archives